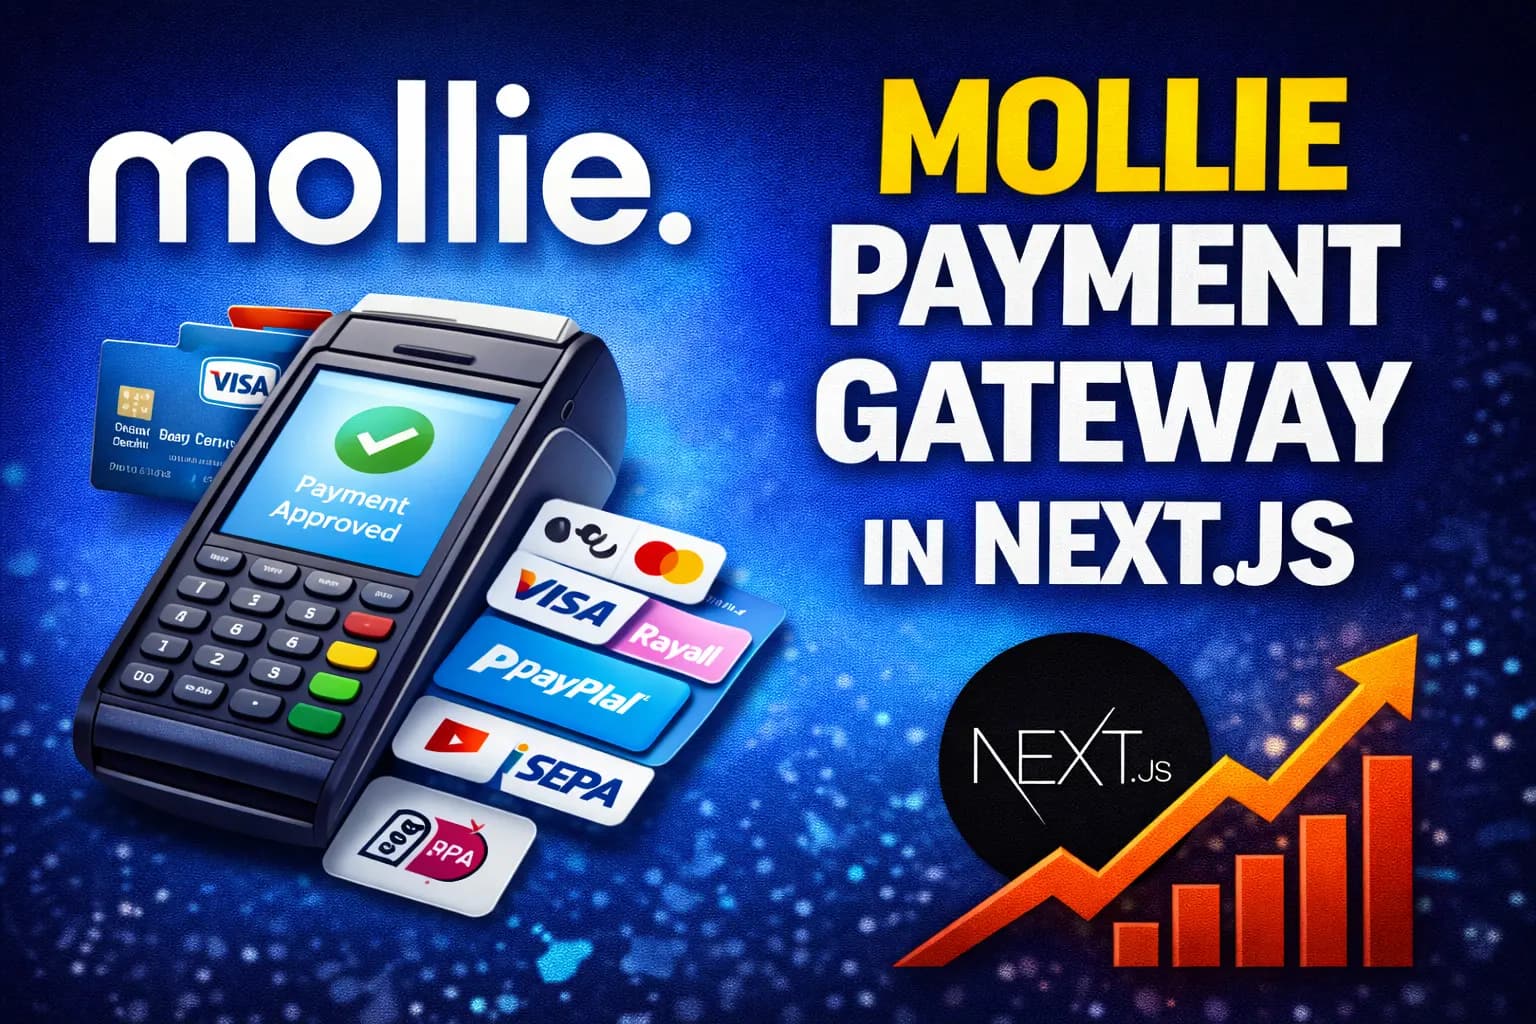
Online payments are a critical part of modern web applications. For developers building with Next.js, choosing a reliable, developer-friendly payment gateway can save time and reduce complexity. Mollie has quickly become a popular choice in Europe thanks to its clean API, wide payment method support, and transparent pricing.
In this guide, we’ll walk through how to use Mollie as a payment gateway in a Next.js application, covering setup, API integration, and best practices.
What Is Mollie?
Mollie is a payment service provider (PSP) that allows businesses to accept online payments through multiple methods such as:
Credit & Debit Cards
PayPal
Apple Pay & Google Pay
iDEAL
SEPA Direct Debit
Klarna & Buy Now Pay Later options
Mollie is especially popular among startups and developers because of its simple REST API and excellent documentation.
Why Use Mollie with Next.js?
Next.js combines frontend and backend logic, making it ideal for payment integrations. Mollie fits perfectly into this architecture because:
🔒 Secure server-side payment creation
⚡ Fast API responses
🧩 Easy webhook handling
🌍 Multiple currency & country support
🧑💻 Clean Node.js SDK
Prerequisites
Before starting, make sure you have:
A Next.js project (App Router or Pages Router)
A Mollie account
Mollie API Key (Test or Live)
Basic knowledge of API routes
Step 1: Install Mollie SDK
Install the official Mollie Node.js client:
npm install @mollie/api-clientStep 2: Configure Mollie Client
Create a reusable Mollie client instance.
// lib/mollie.js
import createMollieClient from "@mollie/api-client";

const mollieClient = createMollieClient({
  apiKey: process.env.MOLLIE_API_KEY,
});

export default mollieClient;
Add your API key to .env.local:
MOLLIE_API_KEY=test_xxxxxxxxxxxxxxxxxStep 3: Create a Payment (API Route)
Create a server-side API route to initiate payments.
For App Router (Next.js 13+)
// app/api/payment/route.js
import mollieClient from "@/lib/mollie";
import { NextResponse } from "next/server";

export async function POST() {
  const payment = await mollieClient.payments.create({
    amount: {
      value: "10.00",
      currency: "EUR",
    },
    description: "Order #12345",
    redirectUrl: "http://localhost:3000/success",
    webhookUrl: "https://yourdomain.com/api/webhook",
  });

  return NextResponse.json({ checkoutUrl: payment.getCheckoutUrl() });
}
Step 4: Redirect User to Mollie Checkout
From your frontend, call the API and redirect the user.
const handlePayment = async () => {
  const res = await fetch("/api/payment", { method: "POST" });
  const data = await res.json();
  window.location.href = data.checkoutUrl;
};
This sends users to Mollie’s secure hosted checkout page.
Step 5: Handle Payment Status (Webhook)
Webhooks allow Mollie to notify your app when a payment status changes.
// app/api/webhook/route.js
import mollieClient from "@/lib/mollie";

export async function POST(req) {
  const body = await req.formData();
  const paymentId = body.get("id");

  const payment = await mollieClient.payments.get(paymentId);

  if (payment.isPaid()) {
    // Update order status in database
  }

  return new Response("OK");
}
⚠️ Always trust webhooks, not redirect URLs, for final payment confirmation.
Payment Statuses You Should Handle
Mollie payments can have several states:
open– Payment startedpaid– Payment successfulfailed– Payment failedexpired– User didn’t complete paymentcanceled– User canceled payment
Handling these correctly ensures accurate order tracking.
Security Best Practices
✅ Create payments only on the server
🔐 Never expose API keys to the client
📡 Validate webhook requests
🧾 Match payments with internal order IDs
🧪 Use test keys during development
Mollie Pricing Overview
Mollie has no monthly fees. You pay per successful transaction, which varies by payment method. This makes it ideal for startups and small businesses.
When Mollie Is the Right Choice
Mollie is perfect if you:
Target European customers
Want fast integration with Next.js
Need multiple payment methods
Prefer transparent pricing
Want a clean developer experience
Final Thoughts
Integrating Mollie with Next.js is straightforward and powerful. With server-side API routes, webhook support, and Mollie’s robust payment infrastructure, you can build a secure and scalable payment flow in minutes.
If you’re building SaaS products, e-commerce platforms, or subscription-based services, Mollie is a solid payment gateway worth considering.